
This is a complete guide to setting up high traffic WordPress website on AWS (Amazon Web Services).
To set up a WordPress website on AWS, we need to:
- Launch an EC2
- Install PHP
- Download and extract WordPress
- Install Caddy server
- Configure Caddy to use PHP FastCGI
- Update DNS records
- Enable Caddy service
We will be using two AWS services:
- Amazon EC2 to run the WordPress website with PHP server
- Amazon RDS (MariaDB / MySQL) to host our WordPress database
With Amazon EC2, we have full control of the server unlike shared hosting.
AWS WordPress Hosting Cost
All these prices are for the US East (N. Virginia) us-east-1 region.
Amazon EC2 cost for WordPress VPS
For 1 GB of RAM and 8 GB of storage without free tier, Amazon EC2 will cost ~ $10 per month.

Tip
To find out your EC2 costs, use this simple AWS pricing calculator for EC2.
RDS MySQL database cost for WordPress
For a database with 1 GB of RAM and 20 GB of storage it would cost ~ $14 per month.
Here is the breakdown of RDS database cost:
| Service | Cost |
|---|---|
| DB Instance | $11.68 |
| Storage | $2.30 |
| Total | $13.98 |
Why use RDS instead of self hosting database
RDS provides a fully managed SQL database which can be:
- Automatic scaling based on traffic
- Scheduled backups (snapshots)
- Multi region replication
- RDS proxy for better read performance
Create EC2 instance for WordPress
First, go to AWS Console for EC2 and select Amazon Linux 2023 AMI and 64-bit (Arm) Architecture.

In the instance type you can select whatever you want. Here I am going with the cheapest instance, which is t4g.nano which will give us 2vCPU and 512 MiB of RAM.
This t4g.nano instance will cost you just $3/month in us-east-1.

In Key pair, select or create a new SSH key pair for your instance.
We will need this to login.

In the Network section allow HTTP and HTTPS traffic, you can also select existing security group as well.

Now Launch instance with the default storage config by clicking on Launch instance on the bottom right.

Our EC2 instance was created with this success message:
Successfully initiated launch of instance (i-xxxx)

Connect to WordPress EC2 instance via SSH
Go to your instance, find and copy the public IP by selecting the instance:

Use the SSH command with IP
We will be using rsync, so it’s best to connect using the terminal.
Alternatively, you can use the connect button to directly get the command or connect to EC2 from the browser itself.

The default username for Amazon Linux EC2 instance is ec2-user.
ssh -i your-key.pem ec2-user@your-ip-address
Type yes and save the fingerprint:

On successful login you’ll see the Amazon Linux logo:
   ,     #_
   ~\_  ####_        Amazon Linux 2023
  ~~  \_#####\
  ~~     \###|
  ~~       \#/ ___   https://aws.amazon.com/linux/amazon-linux-2023
   ~~       V~' '->
    ~~~         /
      ~~._.   _/
         _/ _/
       _/m/'
Last login: Mon Jun  3 13:15:51 2024 from 49.36.180.53
[ec2-user@ip-172-31-19-82 ~]$
Install PHP on EC2 to run WordPress
As of July 2024 the latest version of PHP is 8.3, so we will be installing and using that.
We need to install MySQL driver and PHP FastCGI as well with yum:
sudo yum install -y php8.3 php8.3-mysqlnd php8.3-fpm
Verify the installation
Once PHP is installed, you can use php -v command to check the PHP version.
$ php -v
PHP 8.3.9 (cli) (built: Jul  2 2024 15:37:13) (NTS)
Copyright (c) The PHP Group
Zend Engine v4.3.9, Copyright (c) Zend Technologies
Download WordPress in your server
With the wget command in Linux, we can download the latest WordPress as a .zip:
wget https://wordpress.org/latest.zip -O wordpress.zip
Extract the downloaded WordPress files:
unzip wordpress.zip
Once you unzip and cd into wordpress, you will see the following files:
wordpress
├── index.php
├── license.txt
├── readme.html
├── wp-activate.php
├── wp-admin
├── wp-blog-header.php
├── wp-comments-post.php
├── wp-config-sample.php
├── wp-content
├── wp-cron.php
├── wp-includes
├── wp-links-opml.php
├── wp-load.php
├── wp-login.php
├── wp-mail.php
├── wp-settings.php
├── wp-signup.php
├── wp-trackback.php
└── xmlrpc.php

4 directories, 16 files
Move the wordpress directory into www
Following the best practice you should move the wordpress directory from home to /var/www/.
sudo mv wordpress /var/www/
If there is not www directory, simply create one.
Debug SQL driver for PHP
If you are seeing missing the MySQL extension error:
Your PHP installation appears to be missing the MySQL extension which is required by WordPress.

Please check that the `mysqli` PHP extension is installed and enabled.
You need to enable mysql extension in /etc/php/php.ini:
- Open the file with
sudo vim /etc/php/php.ini - Find the line
;extension=mysqli - Remove the
;from the start of the string (uncomment) - Save the file
Install Caddy serve for proxy
sudo yum -y install yum-plugin-copr
sudo yum -y copr enable @caddy/caddy epel-8-$(arch)
sudo yum -y install caddy
Enable Caddy & PHP FastCGI service
We need to enable and start Caddy and FastCGI service.
Use the command below to enable and start the services with systemctl:
sudo systemctl enable caddy.service php-fpm.service --now
The symlink for both the services should be created:
Created symlink /etc/systemd/system/multi-user.target.wants/caddy.service → /usr/lib/systemd/system/caddy.service.
Created symlink /etc/systemd/system/multi-user.target.wants/php-fpm.service → /usr/lib/systemd/system/php-fpm.service.
Check for service status
Now we need to make sure that php-fpm and Caddy is running without error, so let’s check their status:
sudo systemctl status php-fpm.service caddy.service
Check for the Active value in the output, it should be active (running) followed by the date.
● php-fpm.service - The PHP FastCGI Process Manager
     Loaded: loaded (/usr/lib/systemd/system/php-fpm.service; enabled; preset: disabled)
     Active: active (running) since Thu 2024-07-11 20:38:44 UTC; 11h ago
   Main PID: 30083 (php-fpm)
     Status: "Processes active: 0, idle: 9, Requests: 404, slow: 0, Traffic: 0req/sec"
      Tasks: 10 (limit: 1004)
     Memory: 91.5M
        CPU: 15.567s
     CGroup: /system.slice/php-fpm.service
             ├─30083 "php-fpm: master process (/etc/php-fpm.conf)"
             ├─30084 "php-fpm: pool www"
             └─33732 "php-fpm: pool www"

Jul 11 20:38:44 ip-172-31-19-253.ec2.internal systemd[1]: Starting php-fpm.service - The PHP Fast>
Jul 11 20:38:44 ip-172-31-19-253.ec2.internal systemd[1]: Started php-fpm.service - The PHP FastC>

● caddy.service - Caddy
     Loaded: loaded (/usr/lib/systemd/system/caddy.service; enabled; preset: disabled)
     Active: active (running) since Thu 2024-07-11 20:13:46 UTC; 12h ago
       Docs: https://caddyserver.com/docs/
   Main PID: 28631 (caddy)
      Tasks: 8 (limit: 1004)
     Memory: 17.0M
        CPU: 4.531s
     CGroup: /system.slice/caddy.service
             └─28631 /usr/bin/caddy run --environ --config /etc/caddy/Caddyfile
Setup your domain for the WordPress site
- Go to your DNS management (CloudFlare, GoDaddy, Namecheap)
- Create an
A/ALIASrecord:- In name put
@or subdomain - In the value / target put your EC2 IP address
- In name put

Configure PHP FPM for Caddy
Open the site config file with vim:
sudo vim /etc/php-fpm.d/www.conf
Find the line for listen.acl_users.
Tip
To find words, you can press / and then the type the words followed by Enter.
Press n to jump to the next word.
Add caddy along with apache and nginx (the config might be at line 55):
listen.acl_users = apache,nginx,caddy
Restart the php-fpm service:
sudo systemctl restart php-fpm.service
Configure Caddy to serve PHP files
Caddy has a built in directive for php_fastcgi which we can use to easily setup our WordPress site.
Find the UNIX socket path for php-fpm
You can do ls /run/php-fpm and look up for .sock file.
$ ls /run/php-fpm/
php-fpm.pid  www.sock
For me it happened to be www.sock, so my complete path will be unix//run/php-fpm/www.sock
Update Caddy server config to host WordPress
The Caddyfile stays in /etc/caddy.
Open it with vim:
sudo vim /etc/caddy/Caddyfile
Now update your Caddy config with the WordPress directory path and php-fpm socket path:
example.com {
        # The path where your wordpress directory is at:
        root * /var/www/wordpress

        # The socket path which you got from previous step:
        php_fastcgi unix//run/php-fpm/www.sock

        # Enable the static file server.
        file_server
}
Reload Caddy server
Now we reload Caddy server to load the new PHP server config:
sudo systemctl reload caddy
Congrats! Now your setup is almost complete.
Visit your website and it should show the initial WordPress setup page.
Debugging Caddy / PHP FPM server
[!INFO] Feel free to skip this step if everything is working fine.
If your WordPress site is not loading, you can check the logs with journalctl:
journalctl -u caddy.service --no-pager
This will show you all the Caddy logs, including errors.
Caddy PHP permission denied error
ERROR http.log.error dialing backend: dial unix /run/php-fpm/www.sock: connect: permission denied
To fix this make sure to add caddy in the listen.acl_users config of php-fpm.
Caddy no such file or directory error
ERROR http.log.error dialing backend: dial unix /run/php/php-fpm.sock: connect: no such file or directory
This happens when you specify the wrong socket path for php-fpm.
Make sure the .sock file exists in the /run/php directory and the path is correct in the Caddy config file.
Create a MySQL RDS database for WordPress site
Go to AWS console and navigate to RDS > Databases.
Use AWS CLI to create a RDS database
Open CloudShell from top right corner if you don’t have AWS CLI installed locally in your machine:

Run create-db-instance command, pass the zone where your WordPress instance is running, e.g. us-east-1b.
You can pass mariadb or mysql in the --engine.
Warning
Make sure to put your own securely generated password
Here is the complete example of creating RDS database with AWS CLI:
aws rds create-db-instance \
--db-instance-identifier wordpress-db \
--db-instance-class db.t4g.micro \
--engine mariadb \
--master-username admin \
--master-user-password your-secret-pa$$word \
--allocated-storage 20 \
--availability-zone us-east-1b
After running the command, you can refresh the databases list to view the database which is being created.

After couple of minutes the database Status will be changed to Available.

Setup EC2 connection in RDS
Since we didn’t give any public access to our database, we need to allow our EC2 instance which is running WordPress to connect to RDS MySQL / MariaDB instance.
Select your RDS database and click on Actions drop-down and Select Setup EC2 connection.

It will ask you to Select EC2 instance, open the drop-down and select the WordPress EC2 instance which you created earlier.

This will create two security groups and attach them on EC2 and RDS security groups. Click Set up to proceed. It will create the needed security groups, so that EC2 and RDS can talk to each other.

After few seconds, you should see a successful message like this:

Now our RDS database setup is complete. Copy the connection endpoint from the Connectivity & security tab by going into the database.

Create database and user for wordpress
Install MySQL / MariaDB client in EC2 (Amazon Linux)
sudo dnf install mariadb105
Connect to WordPress MySQL database
Use the mysql command and pass the database host address followed by the admin username:
mysql -h xxx.rds.amazonaws.com -P 3306 -u admin -p
You will be prompted to enter the password. Use the password which you used when creating the database.
Create database and user for WordPress
These operations are being performed:
- Create a database with name
wordpress - Create user with name
wp_user - Grant
wordpressdatabase access towp_user
CREATE DATABASE wordpress;
CREATE USER 'wp_user'@'%' IDENTIFIED BY 'your-pa$$';
GRANT ALL PRIVILEGES ON wordpress.* TO 'wp_user'@'%';
Verify the created user
MariaDB [(none)]> SELECT User from mysql.user;
+-------------+
| User        |
+-------------+
| admin       |
| wp_user     |
| mariadb.sys |
| rdsadmin    |
+-------------+
4 rows in set (0.225 sec)

MariaDB [(none)]>
Verify the created database
MariaDB [(none)]> SHOW DATABASES;
+--------------------+
| Database           |
+--------------------+
| information_schema |
| innodb             |
| mysql              |
| performance_schema |
| sys                |
| wordpress   <--    |
+--------------------+
6 rows in set (0.222 sec)
Complete WordPress setup with database credentials
Once you have created a user and database for WordPress with all the required permissions, go to your website address and complete the initial setup.
Language selection
 Once you click Continue you will see this:
This information is being used to create a
wp-config.phpfile. If for any reason this automatic file creation does not work, do not worry. All this does is fill in the database information to a configuration file. You may also simply openwp-config-sample.phpin a text editor, fill in your information, and save it aswp-config.php. Need more help? Read the support article onwp-config.php.
Click on Let’s go!
Configure database in WordPress
Put the database details you got in the above step.

Click Submit once you are done.
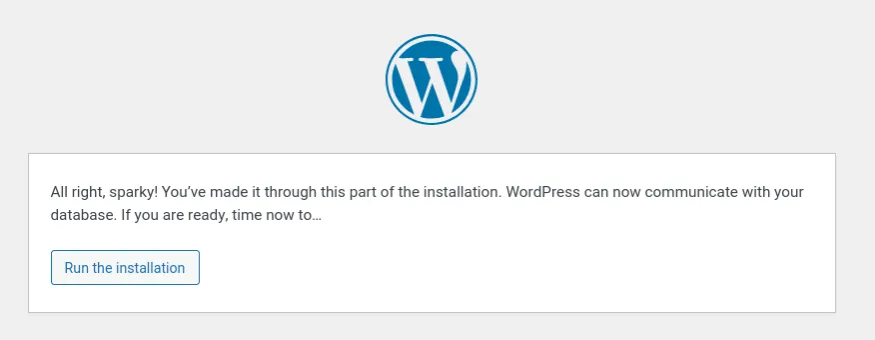
Start the installation
Click Run the installation button and wait for a while.
Create your WordPress site
Now you just need to fill in your new site and admin user details.

Click Install WordPress.
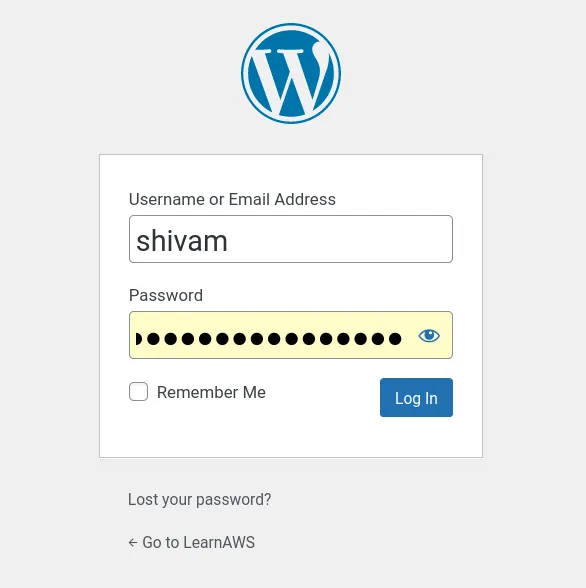
Login to your WordPress site
You will see this screen after a while.
 Click on Log In, fill in your username and password.
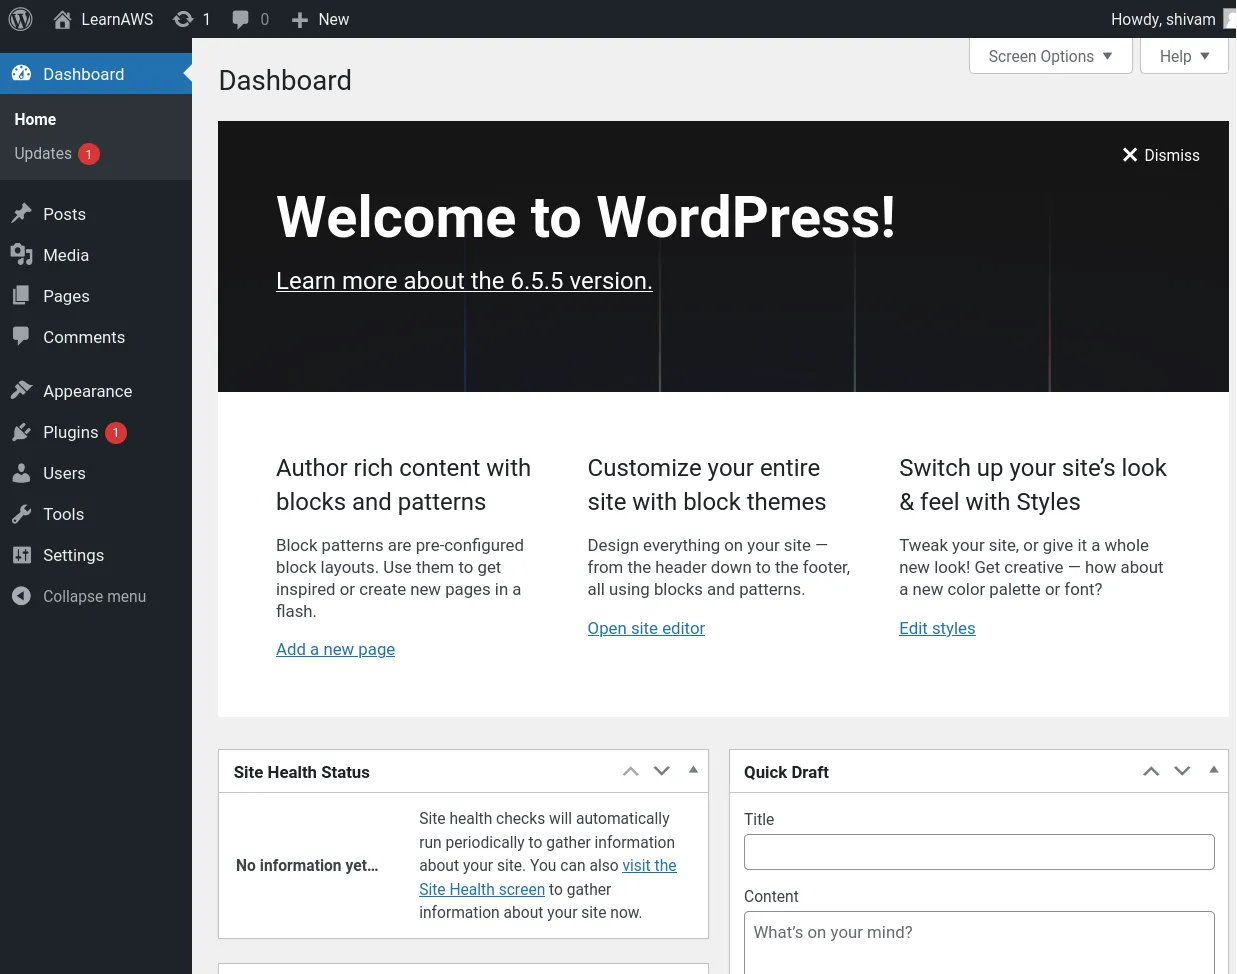
WordPress installation complete
The WordPress installation is complete now and you can start customizing the site and theme.
That’s all folks, it’s been a really long article. I hope this helped you in setting up your WordPress site on AWS.
Got stuck? Get professional help.
I have tried my best to explain everything in here, but in case you are stuck somewhere or just need some advice, checkout our consultation page to get in touch with us.